Adding a Workflow State
How to add a new state to a workflow for a Pro module. In this tutorial we will add states to the Marketing workflow that will allows any module editor to add content, then an will review the content, and finally a Manager must give the content a final review and then publish the content.
- Select
 Manage >
  Settings from the module actions menu.
- Select the Settings tab.
- Click the Manage Workflows link. This opens the Manage Workflows page.
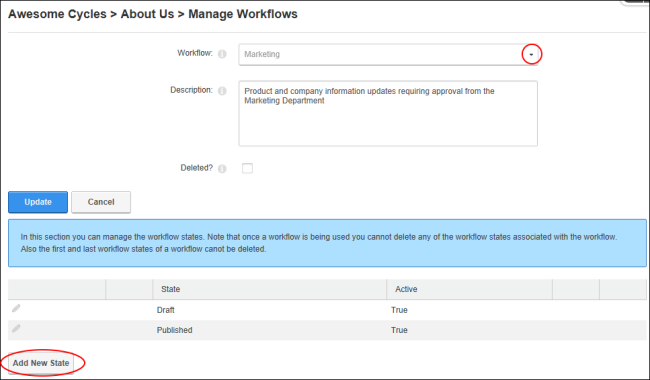
- At Workflow, select the required workflow from the workflow drop down list.
- Click the Add New State link. This displays the State Configuration section.
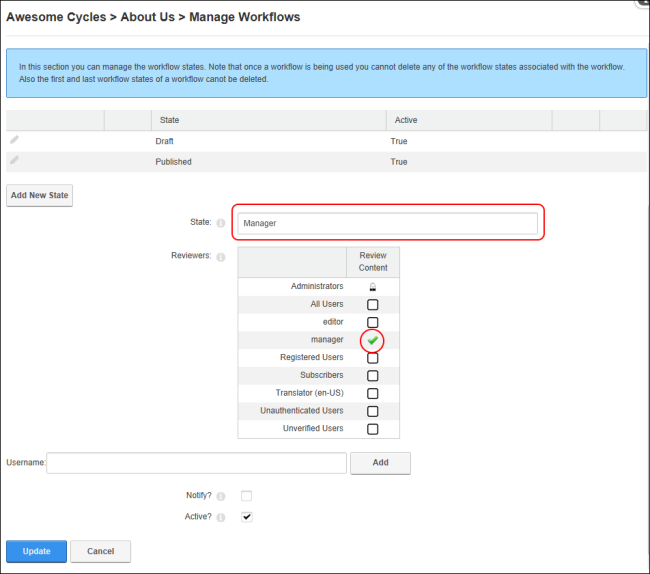
- In the State text box, enter a name for this state.
- At Reviewers, click on the check box in the Review Content column to Grant
 review content permissions to one or more roles and or usernames. Users can also choose to Deny review content permissions to roles/usernames. See "Setting Module Permissions" for more details on setting permissions.
- At Notify?, select from these options:
- Mark
 the check box to set the reviewers specified at Permissions to receive an email notification once a version reaches this state. For the published state the author of the version will receive an email notification once it is published.
 - Unmark
 the check box to disable notifications.
- At Active?, mark the check box to enable this new state - OR - unmark the check box if this new state is not currently active.
-
Click the OK button to confirm. The newly created workflow state is now listed in the States section.
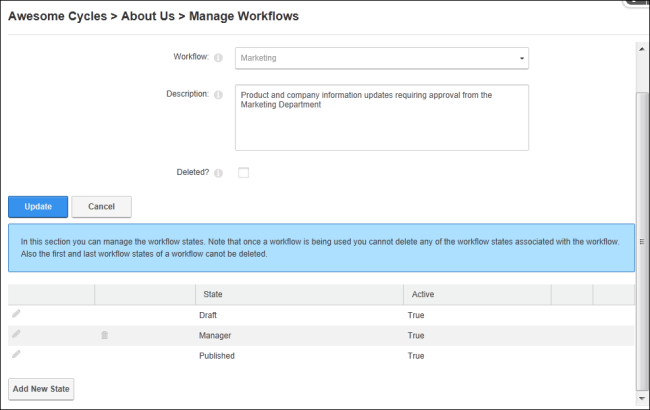
- Optional. Repeat Steps 5-10 to add additional workflow states. For example, an additional state called has been added to this workflow.
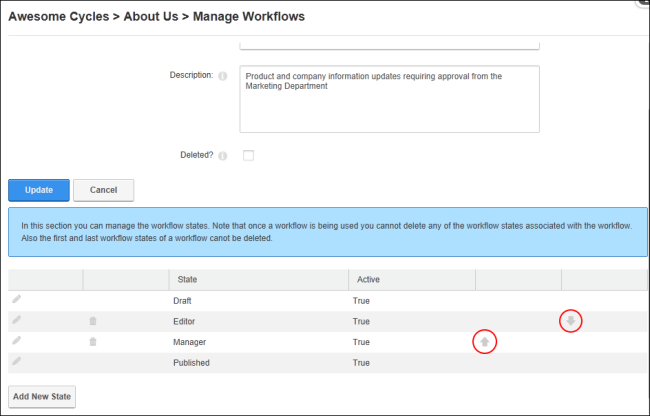
- Optional. Use the Up
 and Down
  buttons to reorder states according to the workflow requirements. Note that the Draft and Published states cannot be reordered.
Open topic with navigation